


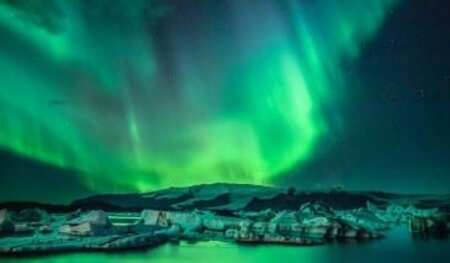


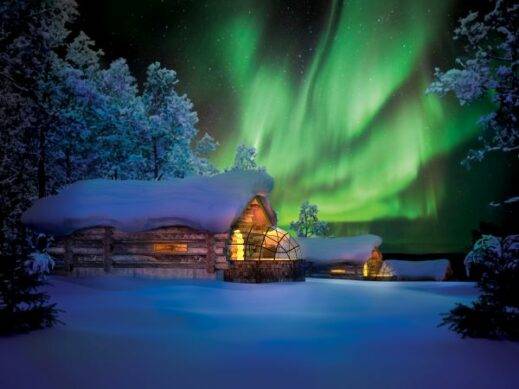


If you’re wondering about the best way to take photographs of the Northern Lights, our friends as Swedish Lapland have compiled this handy video guide to help you take great photos of the Northern Lights.
How to take photos of the Northern Lights – Video Guide:
Video Transcription:
Nowadays almost any camera isgood enough for Northern Lights photography. I started with an entry-level camera, actually the cheapest one I could find that year.
The most imortant peice of gear for Aurora photography?
The most important item is the tripod. If you have forgotten your tripod, make one. Use a stone or fence or whatever to stabilize your camera. It’s all about long exposures and you can’t hand hold a second or longer exposures.
Camera Lenses?
Use wide angle, 20mm or wider because sometimes the aurora will cover the whole sky. Also use large apeture lenses which are at least f3.5.
You want the lense to catch as much light as possible.
What about ISO & RAW?
Don’t be afraid of using high ISO. Most modern cameras perform well at ISO 3200 or even 6400.
Also, always shoot in RAW. Even if you don’t work a lot with a RAW converter at the momentyou will thank your lucky star the day you start editing your pictures. You can recover so much if you use RAW. Underexposed or overexposed in RAW you can recover so much.
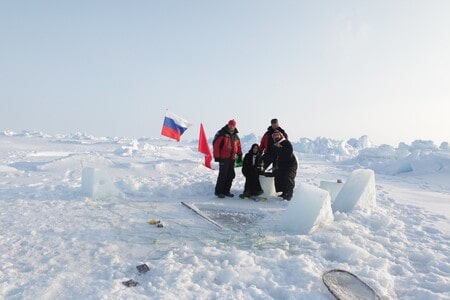
Mind the cold!
If you go to see the Northern Lights you have to take the cold into consideration. Dress accordingly, layer upon layer as the weather can change very quickly from a few minus degrees to minus 30 centigrades in an hour. You don’t want to suffer under the Northern Lights, you want to enjoy every second of it.
Last piece of advice
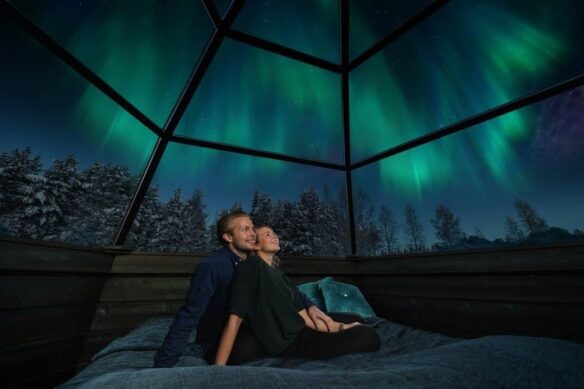
Most importantly when you go shooting the Northern Lights is not to shoot all the time. I have made a habit of spending half of the time just watching. This is magic and I want to allow myself to enjoy it.
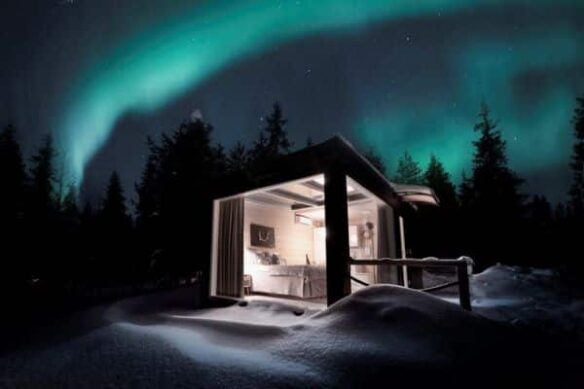
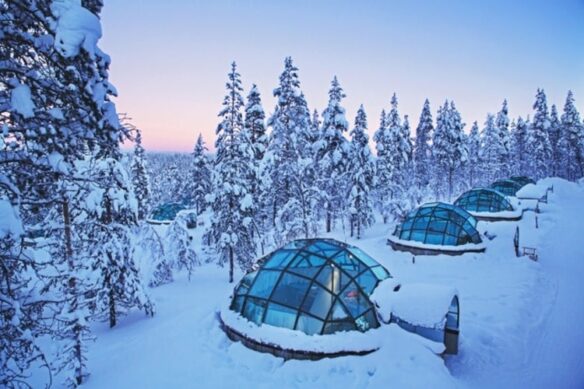
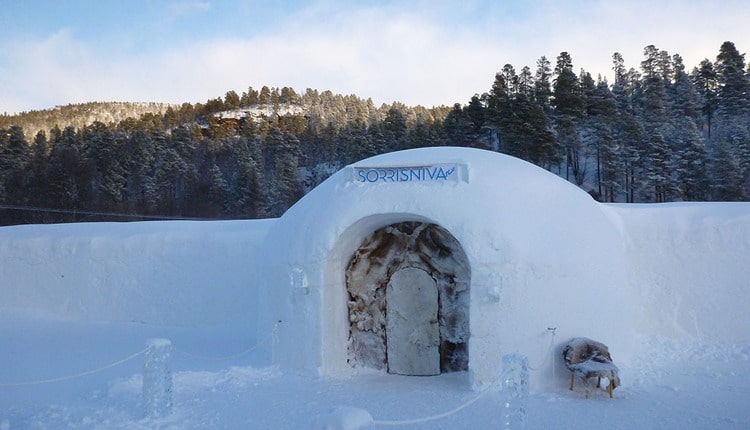
Discover our Northern lights holidays to try your photography skills!